
 The holidays are done, but that doesn’t mean we can’t still
enjoy the baking! It’s still cold
outside so why not make use of that frozen left over pumpkin from our Halloween
Jack-O-Lantern? Start by running water
over it to thaw it out while it’s still in the bag or container you froze it
in. This can take a while and waste
water, so another idea is to heat some water (not boil or it will cook the
pumpkin) and set the container in it.
Leave it over night or during morning activities. Now, surprise the kids by announcing you’re
baking Pumpkin Cookies!!!!!!
The holidays are done, but that doesn’t mean we can’t still
enjoy the baking! It’s still cold
outside so why not make use of that frozen left over pumpkin from our Halloween
Jack-O-Lantern? Start by running water
over it to thaw it out while it’s still in the bag or container you froze it
in. This can take a while and waste
water, so another idea is to heat some water (not boil or it will cook the
pumpkin) and set the container in it.
Leave it over night or during morning activities. Now, surprise the kids by announcing you’re
baking Pumpkin Cookies!!!!!!
You need:
·
2 1/2 cups all-purpose
flour
·
1 teaspoon baking
powder
·
1 teaspoon baking soda
·
2 teaspoons ground
cinnamon
·
1/2 teaspoon ground
nutmeg
·
1/2 teaspoon ground
cloves
·
1/2 teaspoon salt
·
1/2 cup butter,
softened
·
1 1/2 cups white sugar
·
1 cup canned pumpkin
puree
·
1 egg
·
1 teaspoon vanilla
extract
·
½ cup grated carrot
Start by pre-heating the oven to 350F
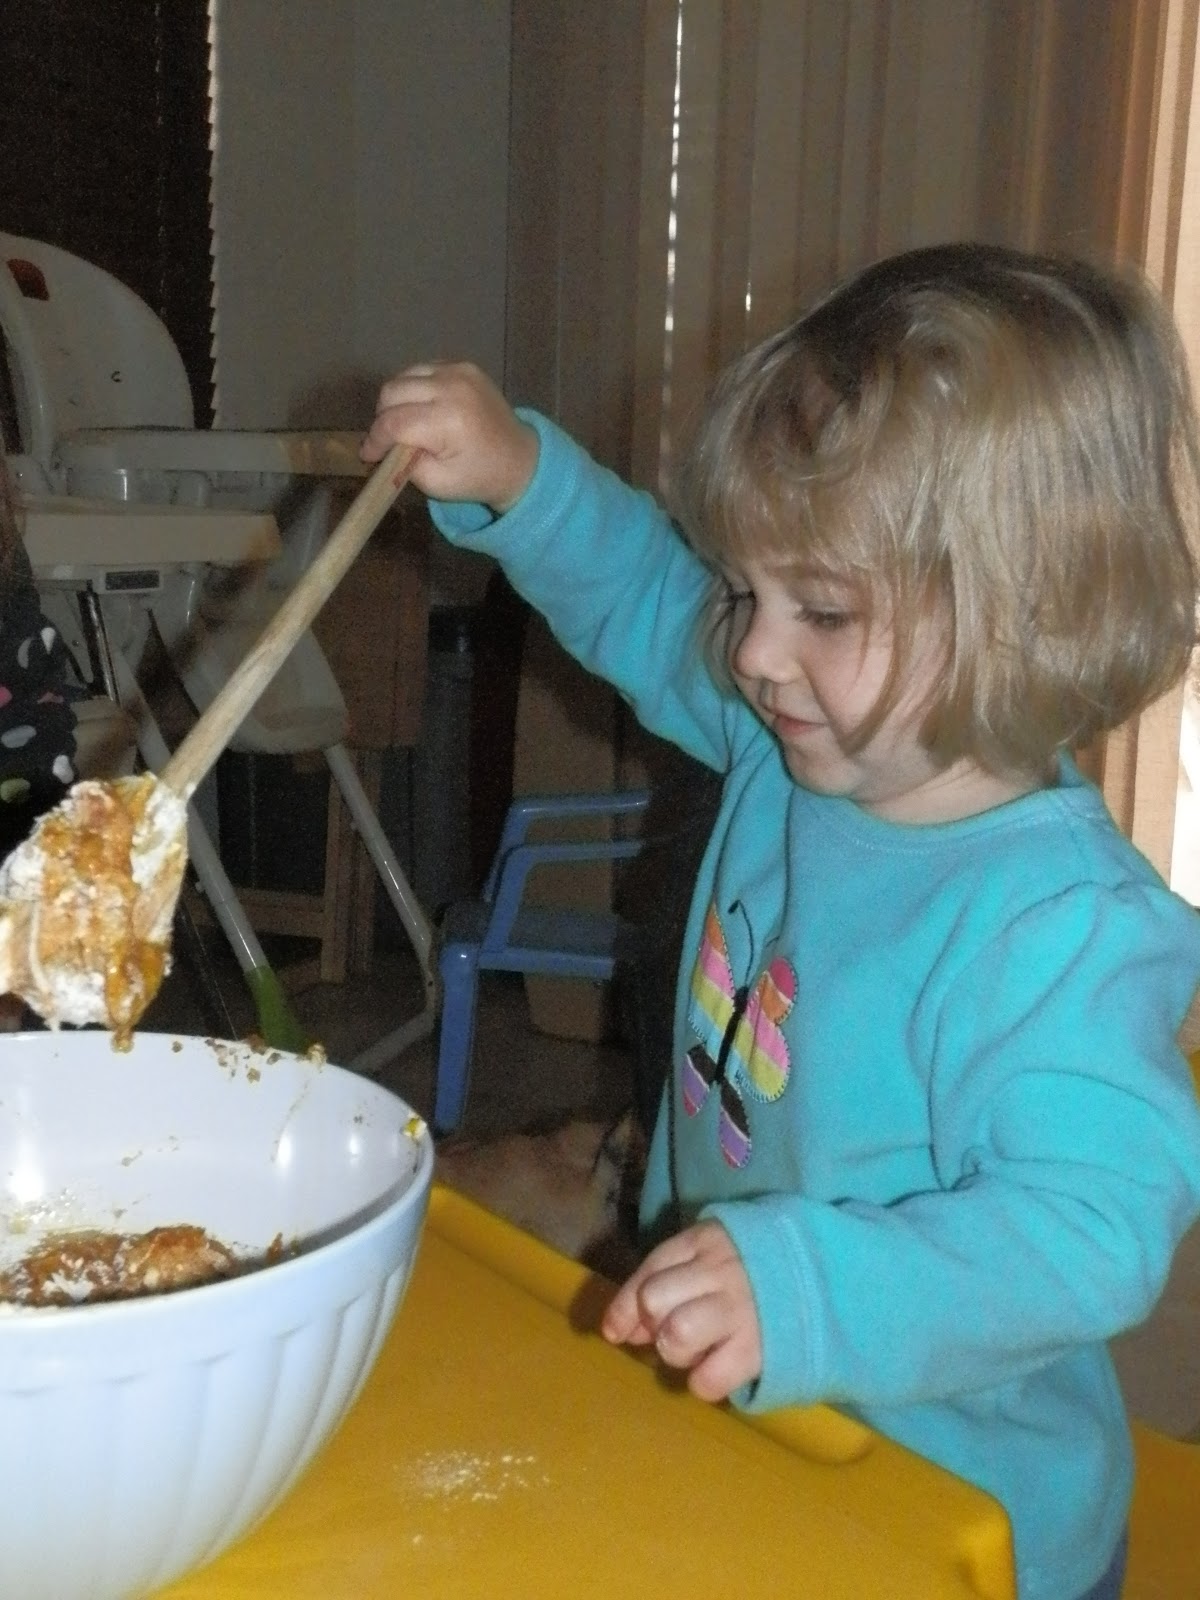
Now, measure each ingredient and have the kids
pour in the bowl, designate a between pour stirrer or take turns. This will keep the kids focused and excited
on their creation! Note with them the
changes your mix goes through as you add each item! Have they smelled each ingredient and state
if they like the smell or not. You can
mix the “wet” items and “dry” items separately, then mix them together if you
would like and you’re kids are old enough to handle these concepts. It makes no difference, however, if you
don’t.

Once mixed, go ahead and have the kids use
spoons to scoop dough onto the cookie sheet.
Set your timer for 15 minutes (but note it can take up to 20 depending
on your oven). Put the cookies in the
oven to bake. Now, it’s time to make the
glazy frosting!!!!
You need:
·
2 cups confectioners'
sugar
·
3 tablespoons milk
·
1 tablespoon melted
butter
·
1 teaspoon vanilla
extract (you can sub with almond extract for a different, sweetly nutty flavor)
Again, measure each item and have the kids
pour in with a designated stirrer. Have
them smell it all, but be careful with the sugar as it can go up the nose. Add milk to make it runnier if needed. You
will notice that as the icing sits it looks like it’s thickened, but when you
pour over a cookie it suddenly becomes oozy and glazes down so put a dab on the
cookie at a time or you’ll end up with a cookie in a pool of icing! Point this out to the kids, maybe experiment
with it a little. Make sure to allow the
cookies to cool before putting any icing on due to the already drizzly nature
of the icing.

Now, eat up!
Be happy for the memories you just created. Savor the heat from the oven. Enjoy the smells floating in your kitchen
from baking. Don’t forget to have a little smile cross your face at the
awareness that you just got your kids to eat pumpkin (a squash and therefore a
vegetable) and a carrot! Two veggies
with no realization from the kids! Always a proud mommy moment!
Be it this recipe or another savor the
memories, messes, and excitement that cooking with your kids can bring on a
cold winter day!


No comments:
Post a Comment